Step 1
PREPARATION
PREPARATION
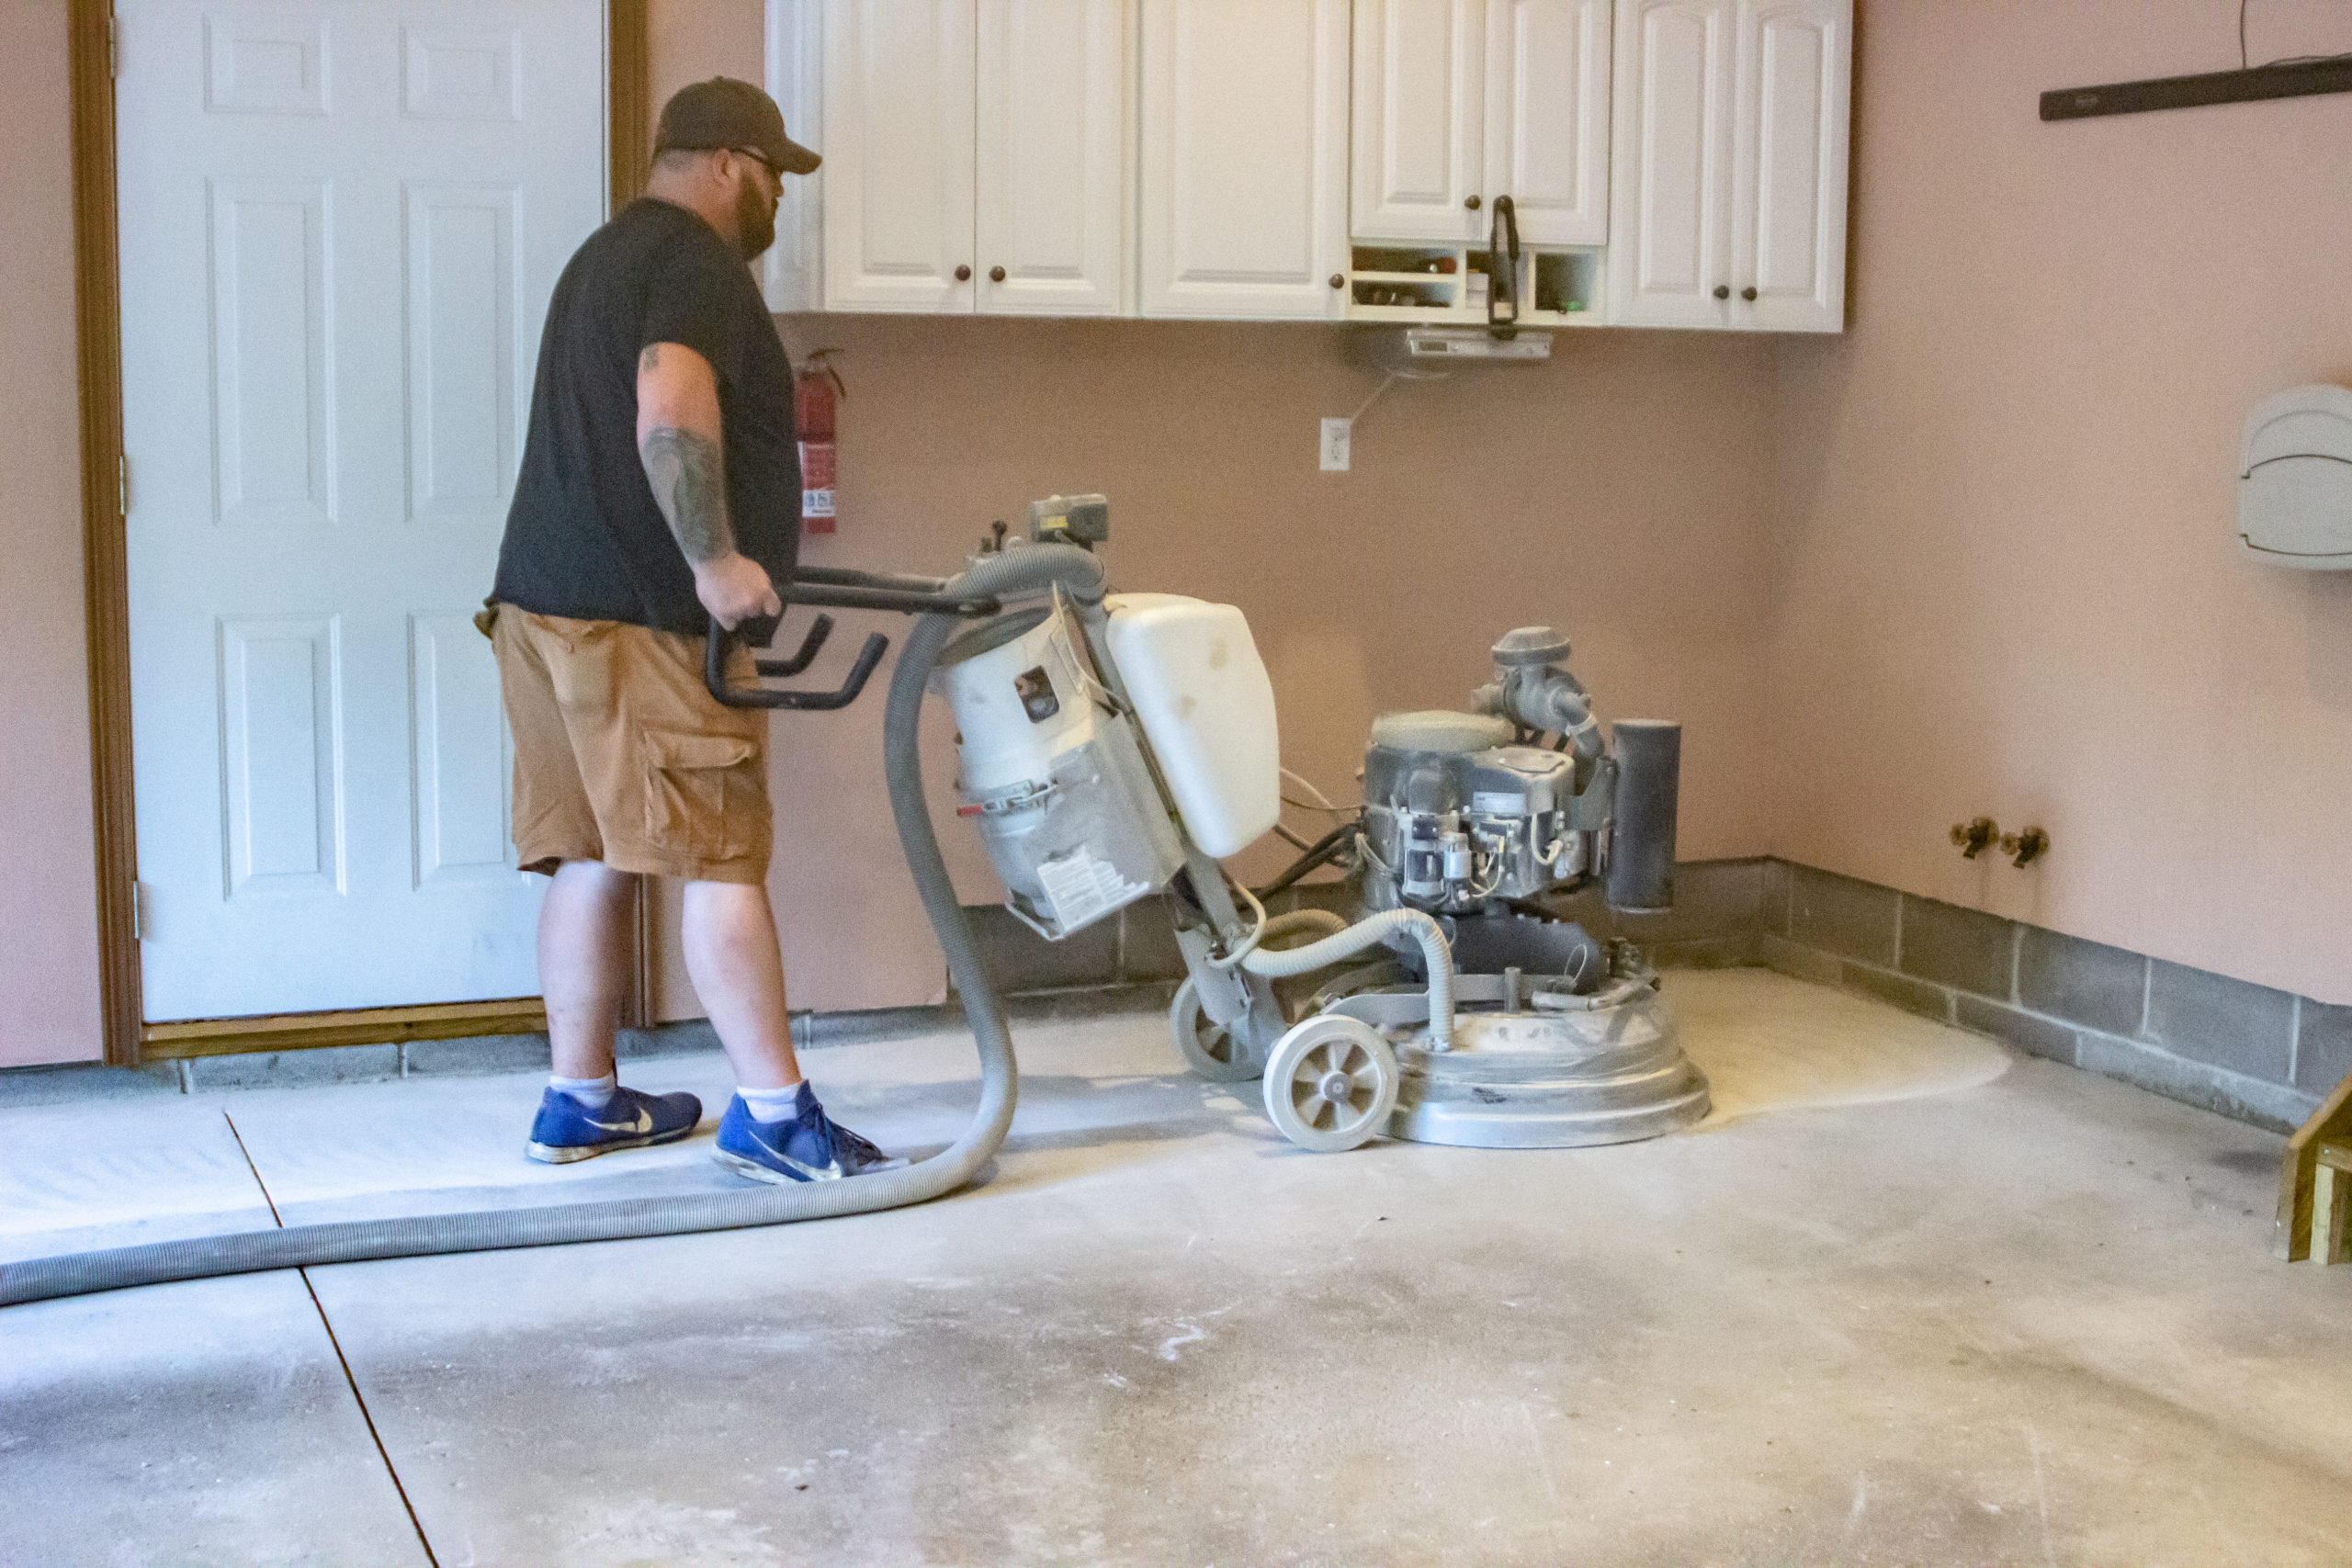
Preparation includes shot blasting and/or diamond grinding. Dust is minimized by having all grinders hooked up to a vacuum.
Step 2
CONCRETE RECONSTRUCTION
CONCRETE RECONSTRUCTION
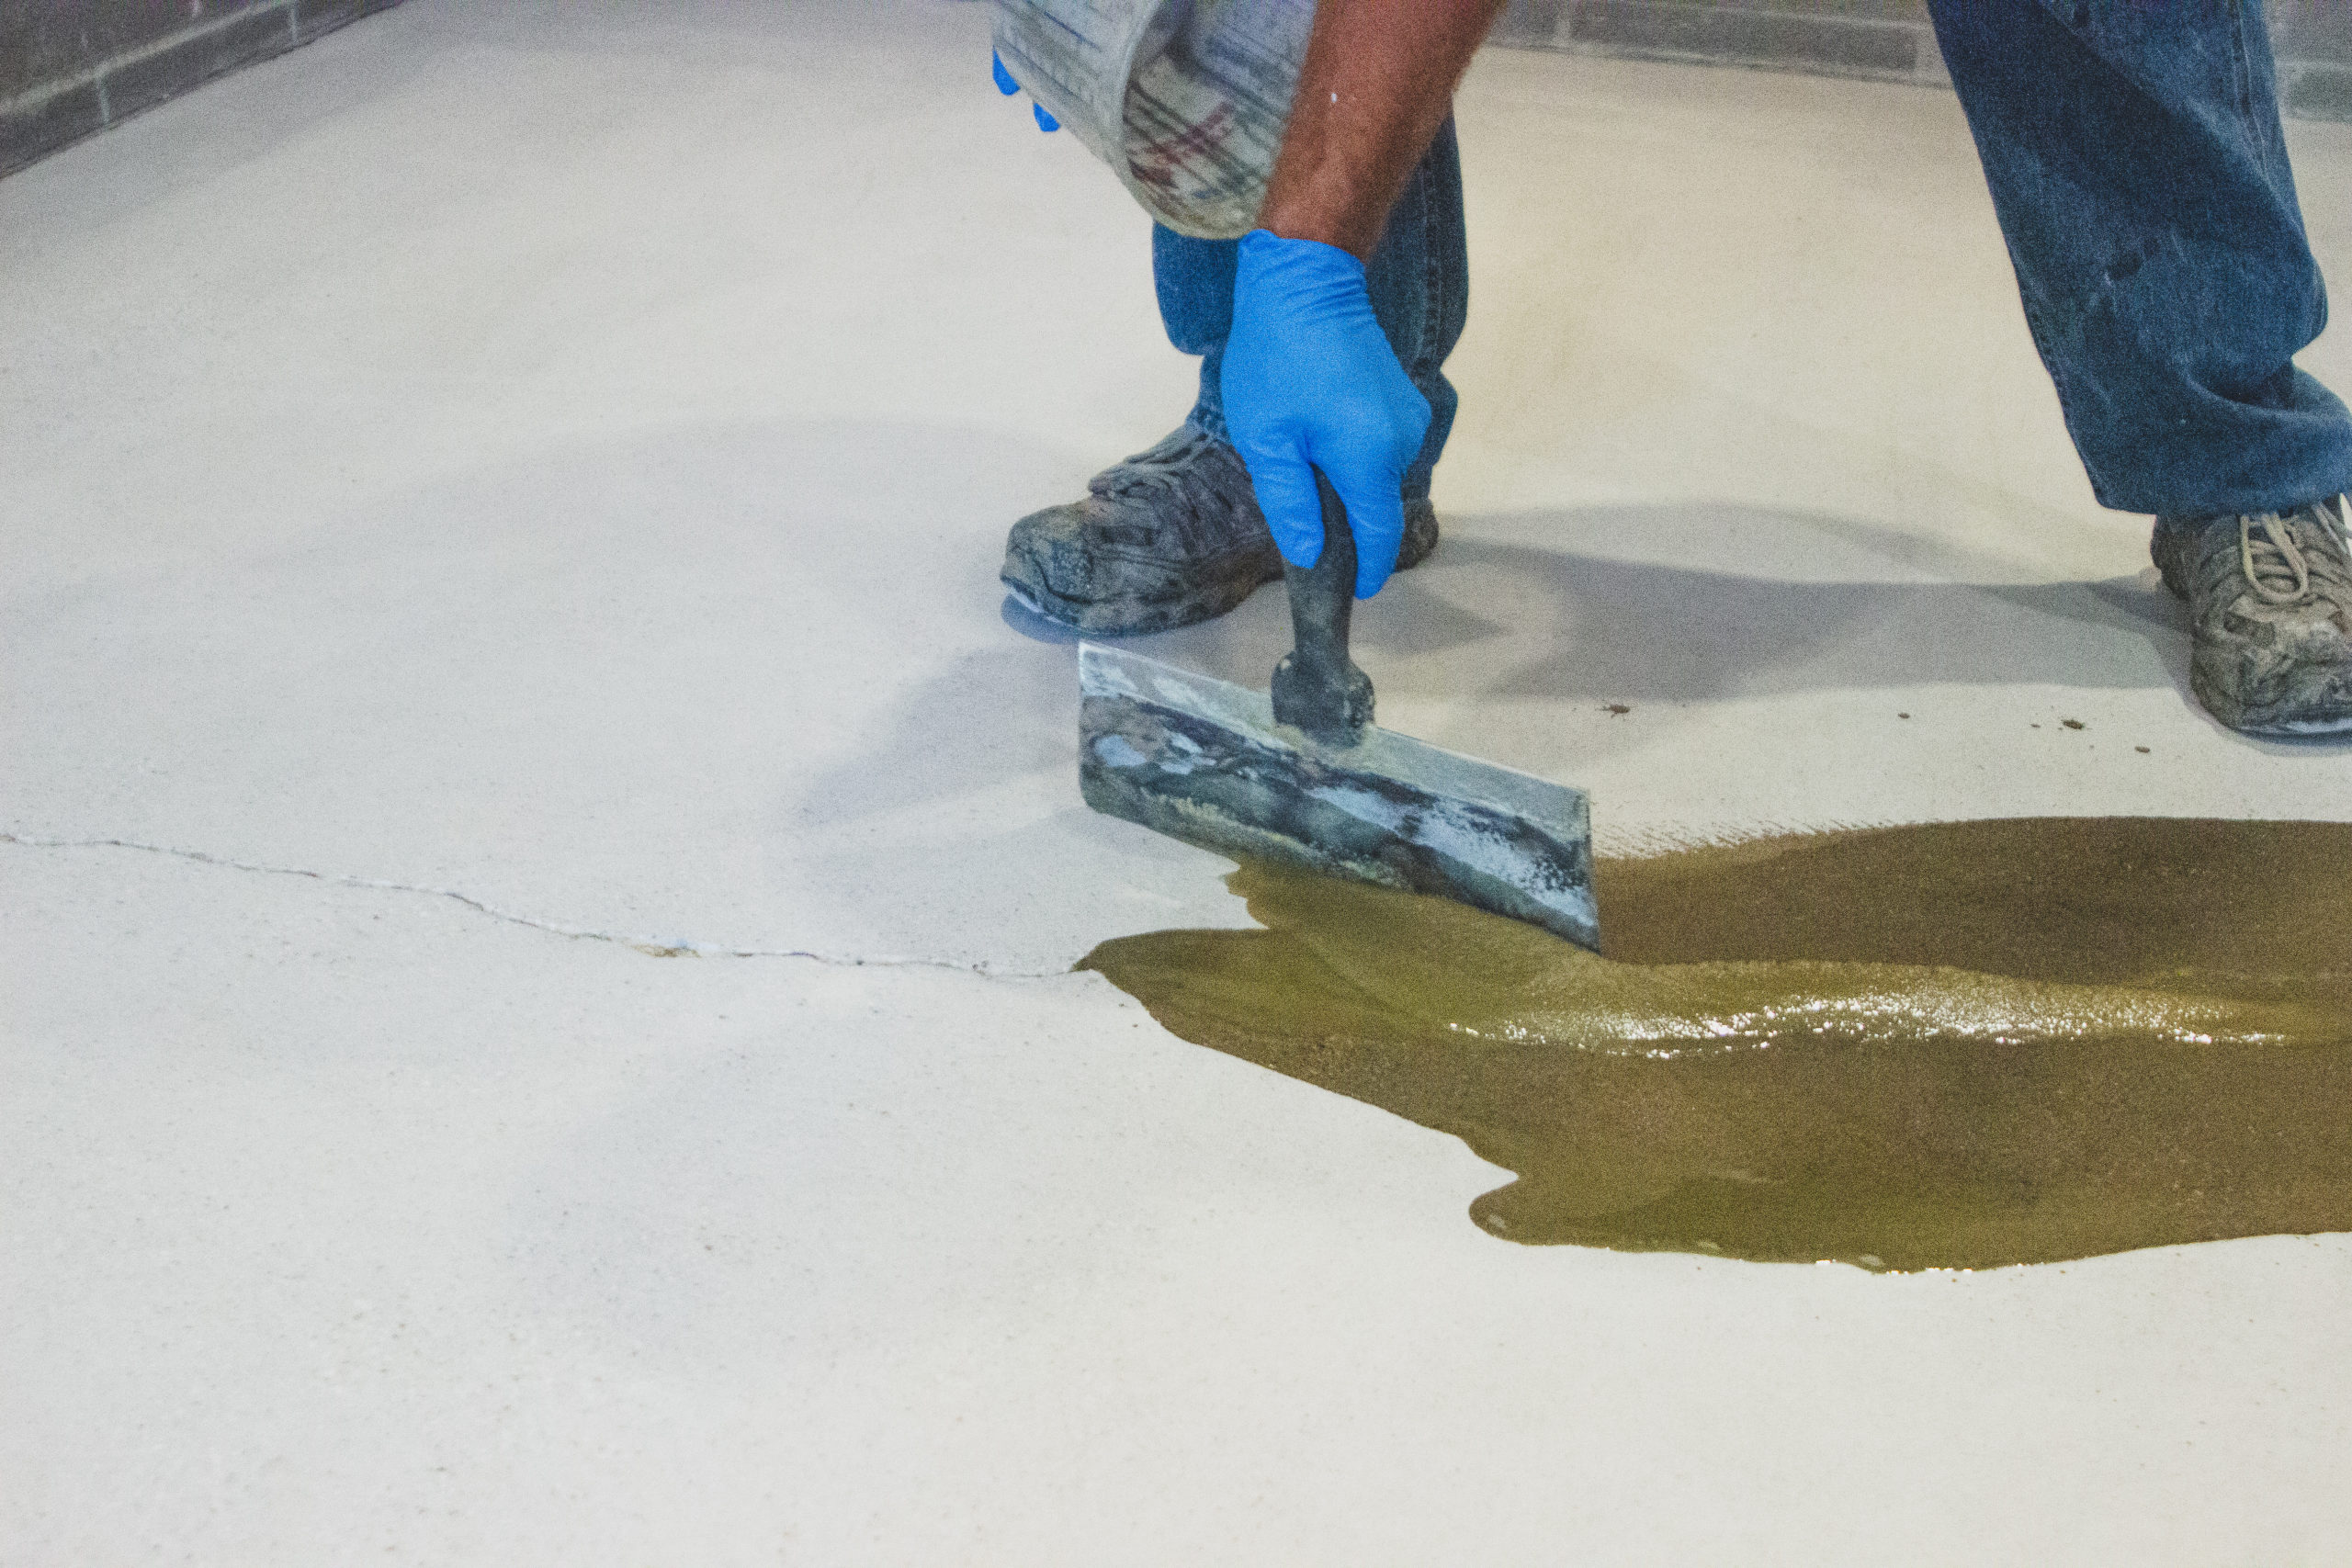
Penntek menders and fillers are used to fix pits and cracks before the process begins.
Step 3
BASECOAT
BASECOAT
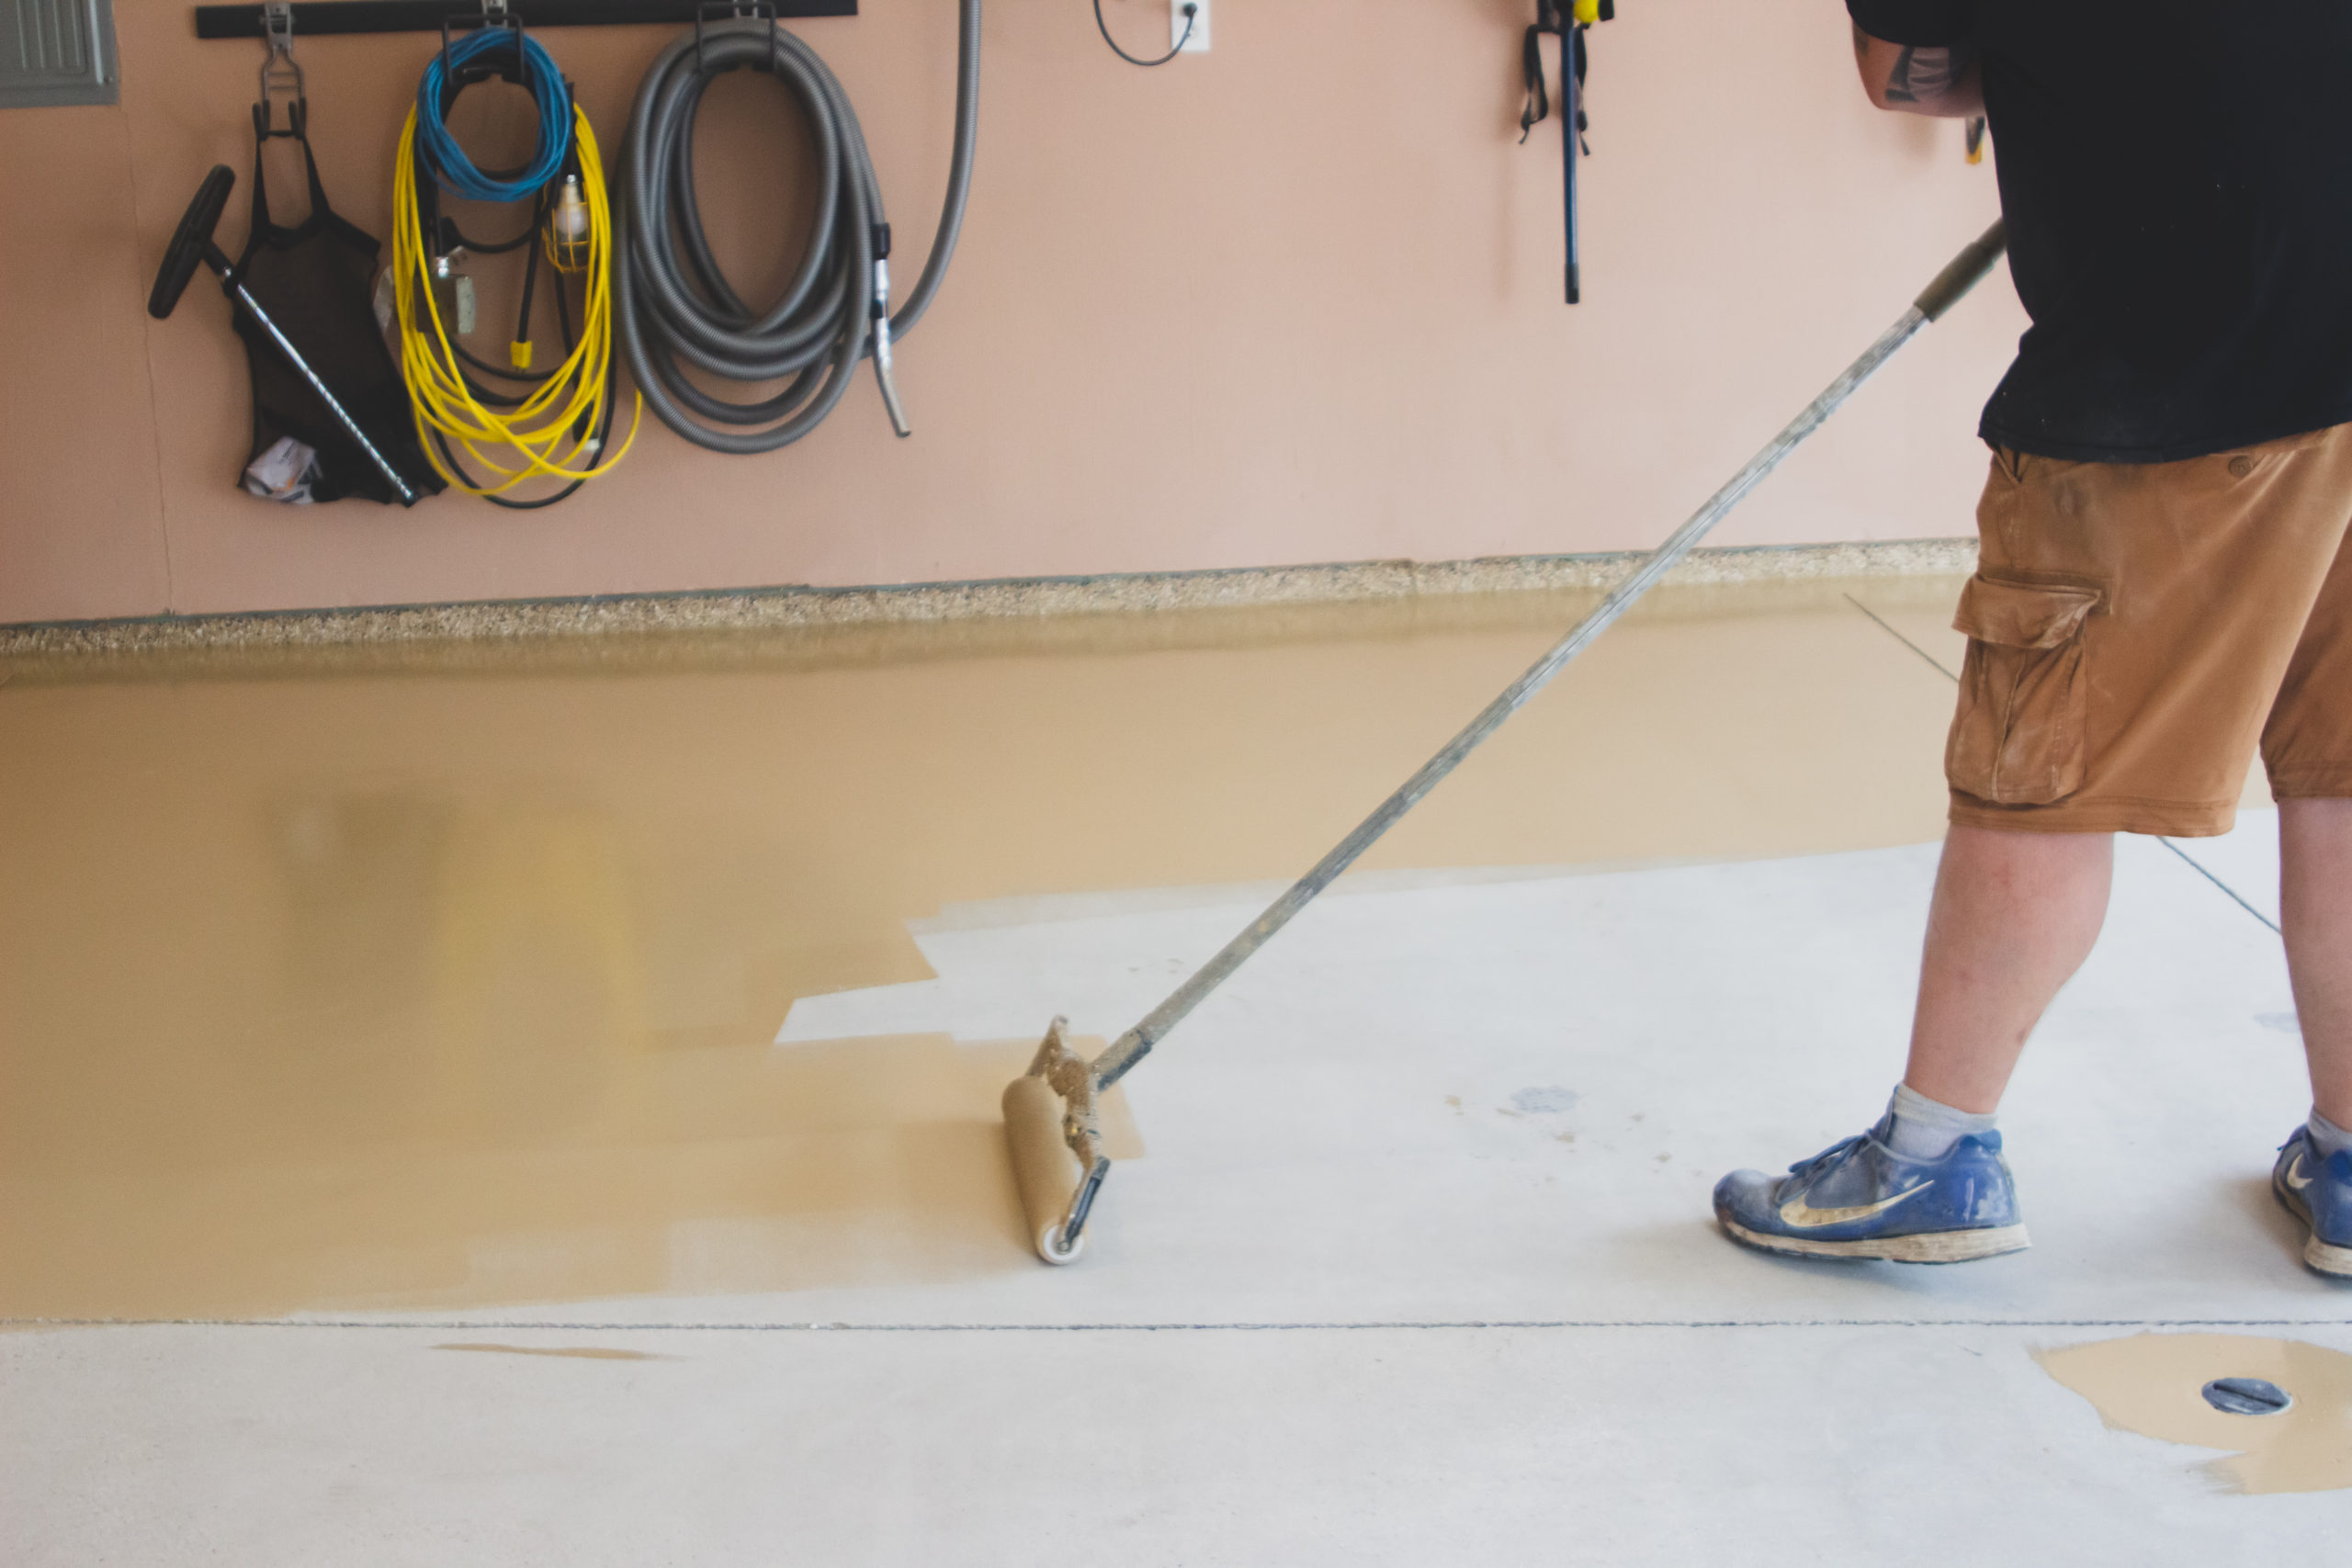
Penntek 100% solids, self-priming pure polyurea basecoat is mixed and applied.
Step 4
BROADCASTING THE CHIP
BROADCASTING THE CHIP
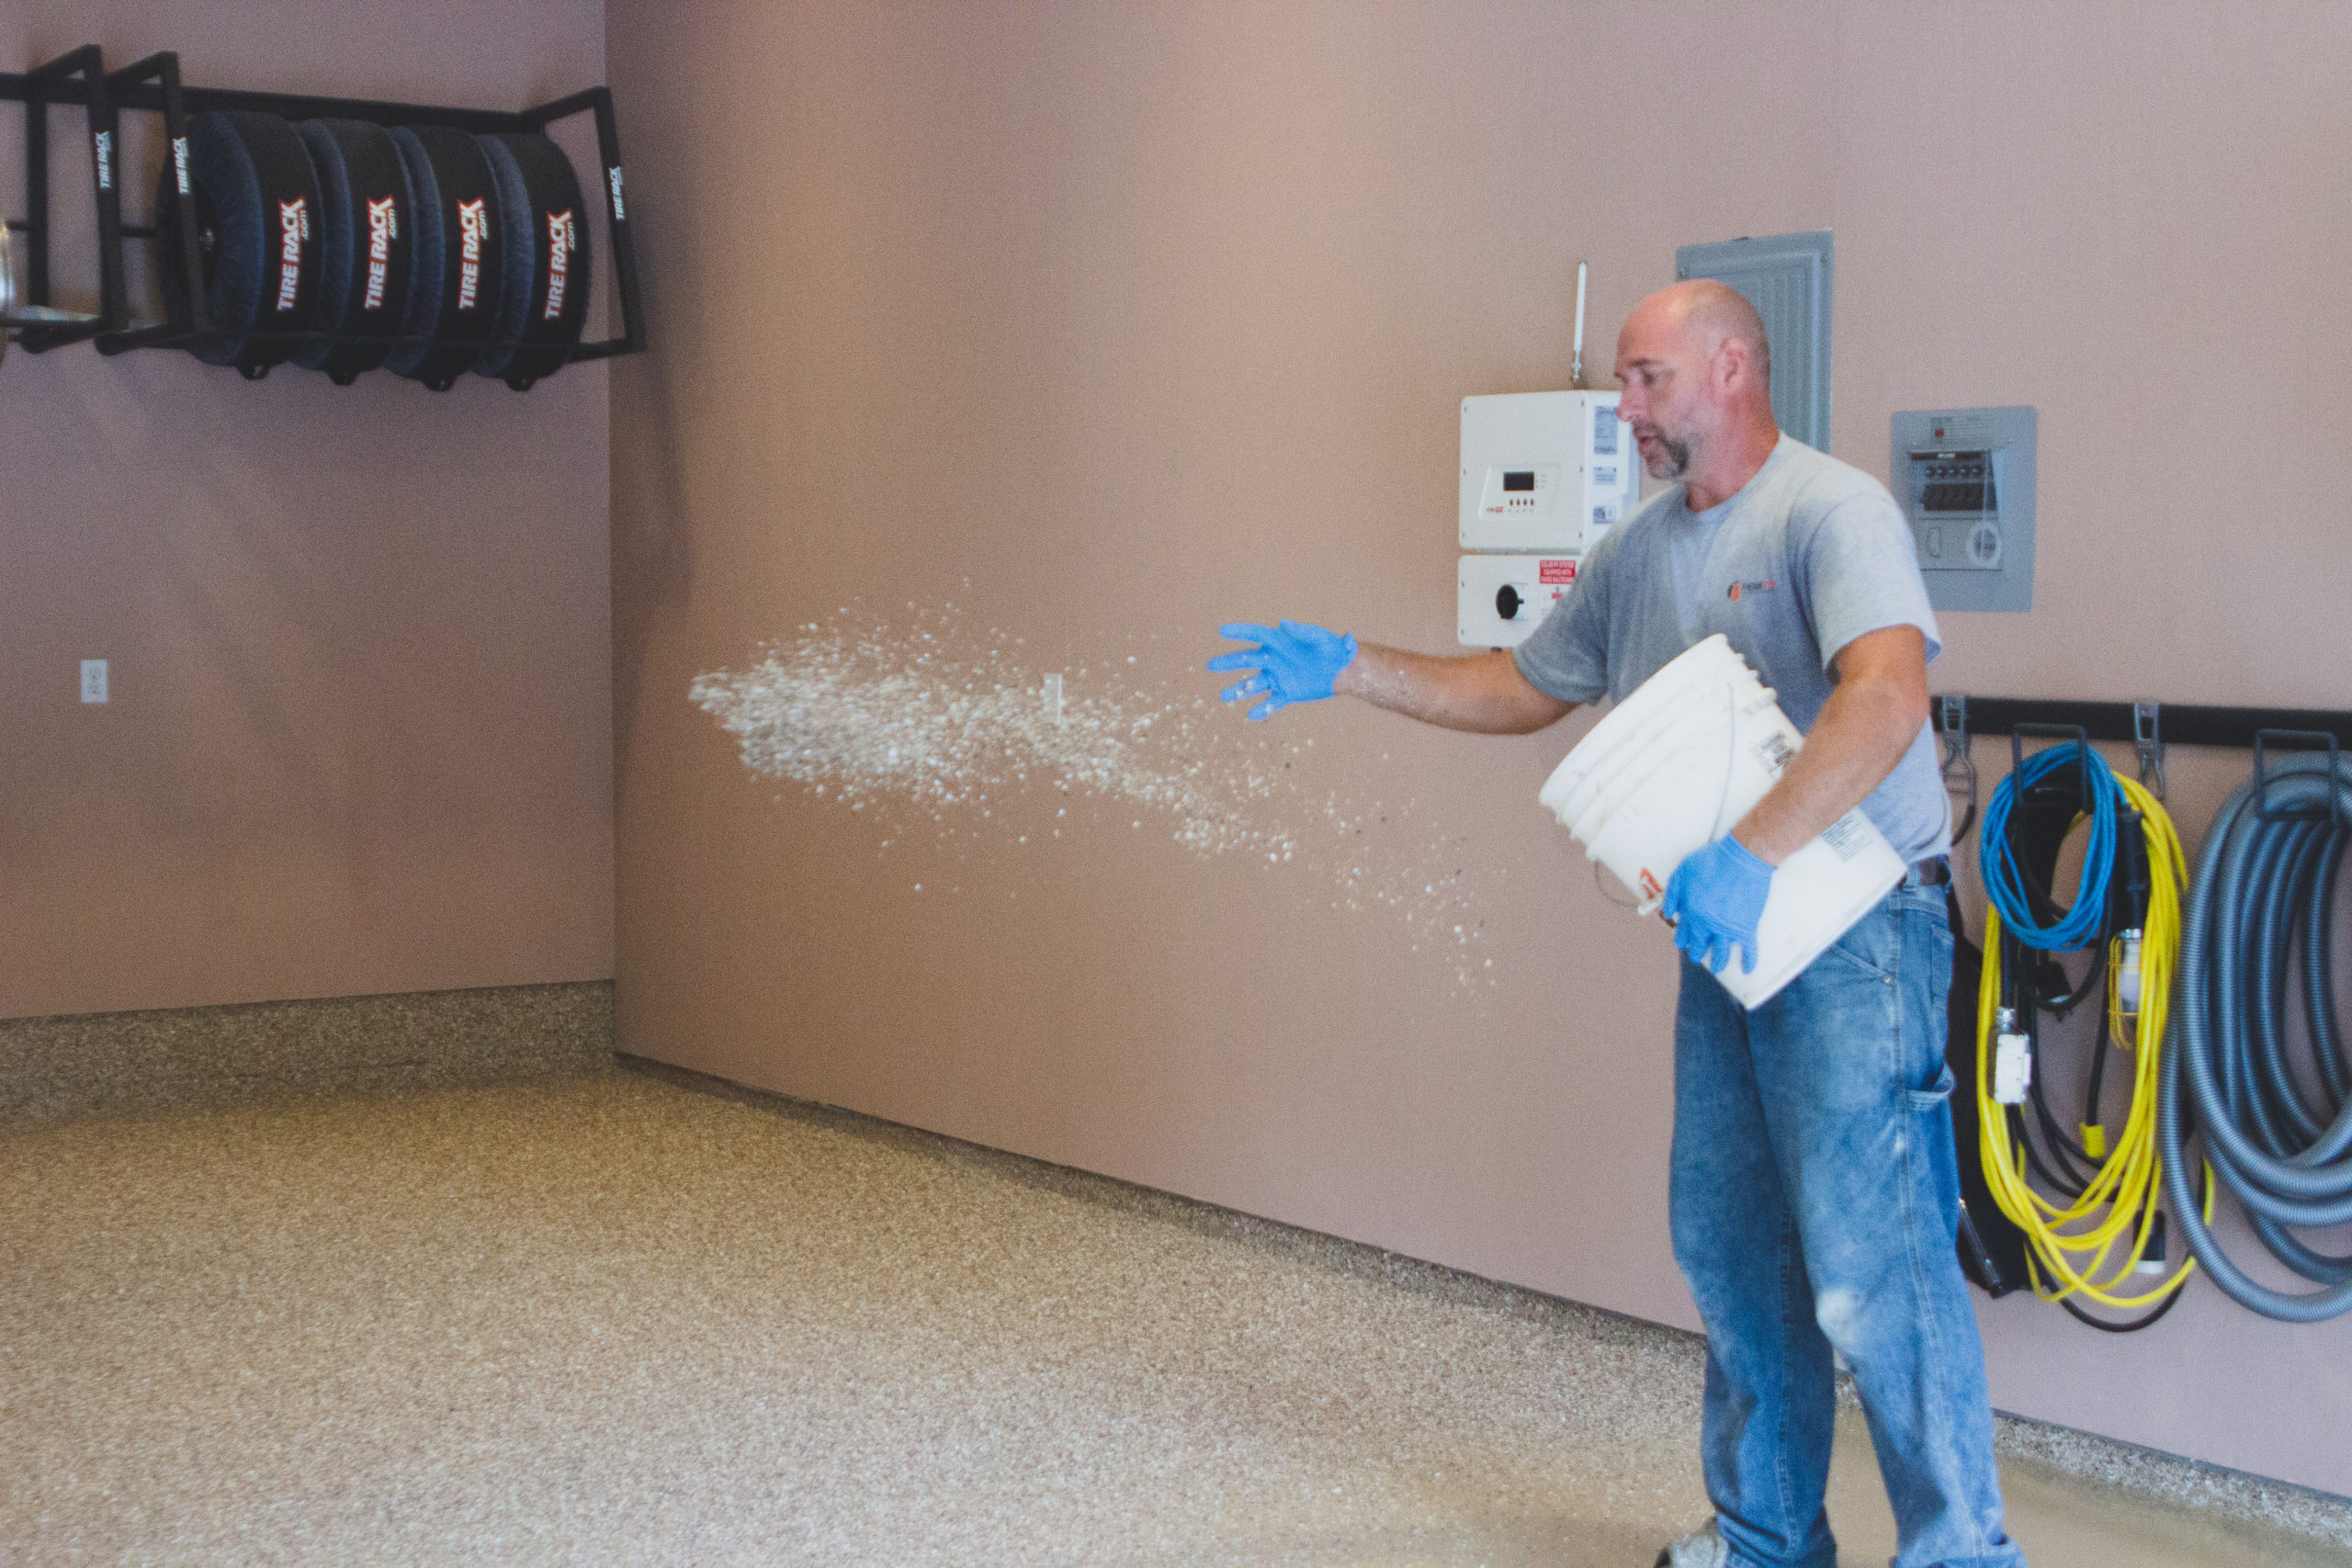
Immediately after the basecoat application, the chip is generously broadcast by hand, providing both color and texture to the floor.
Step 5
SCRAPING THE CHIP
SCRAPING THE CHIP
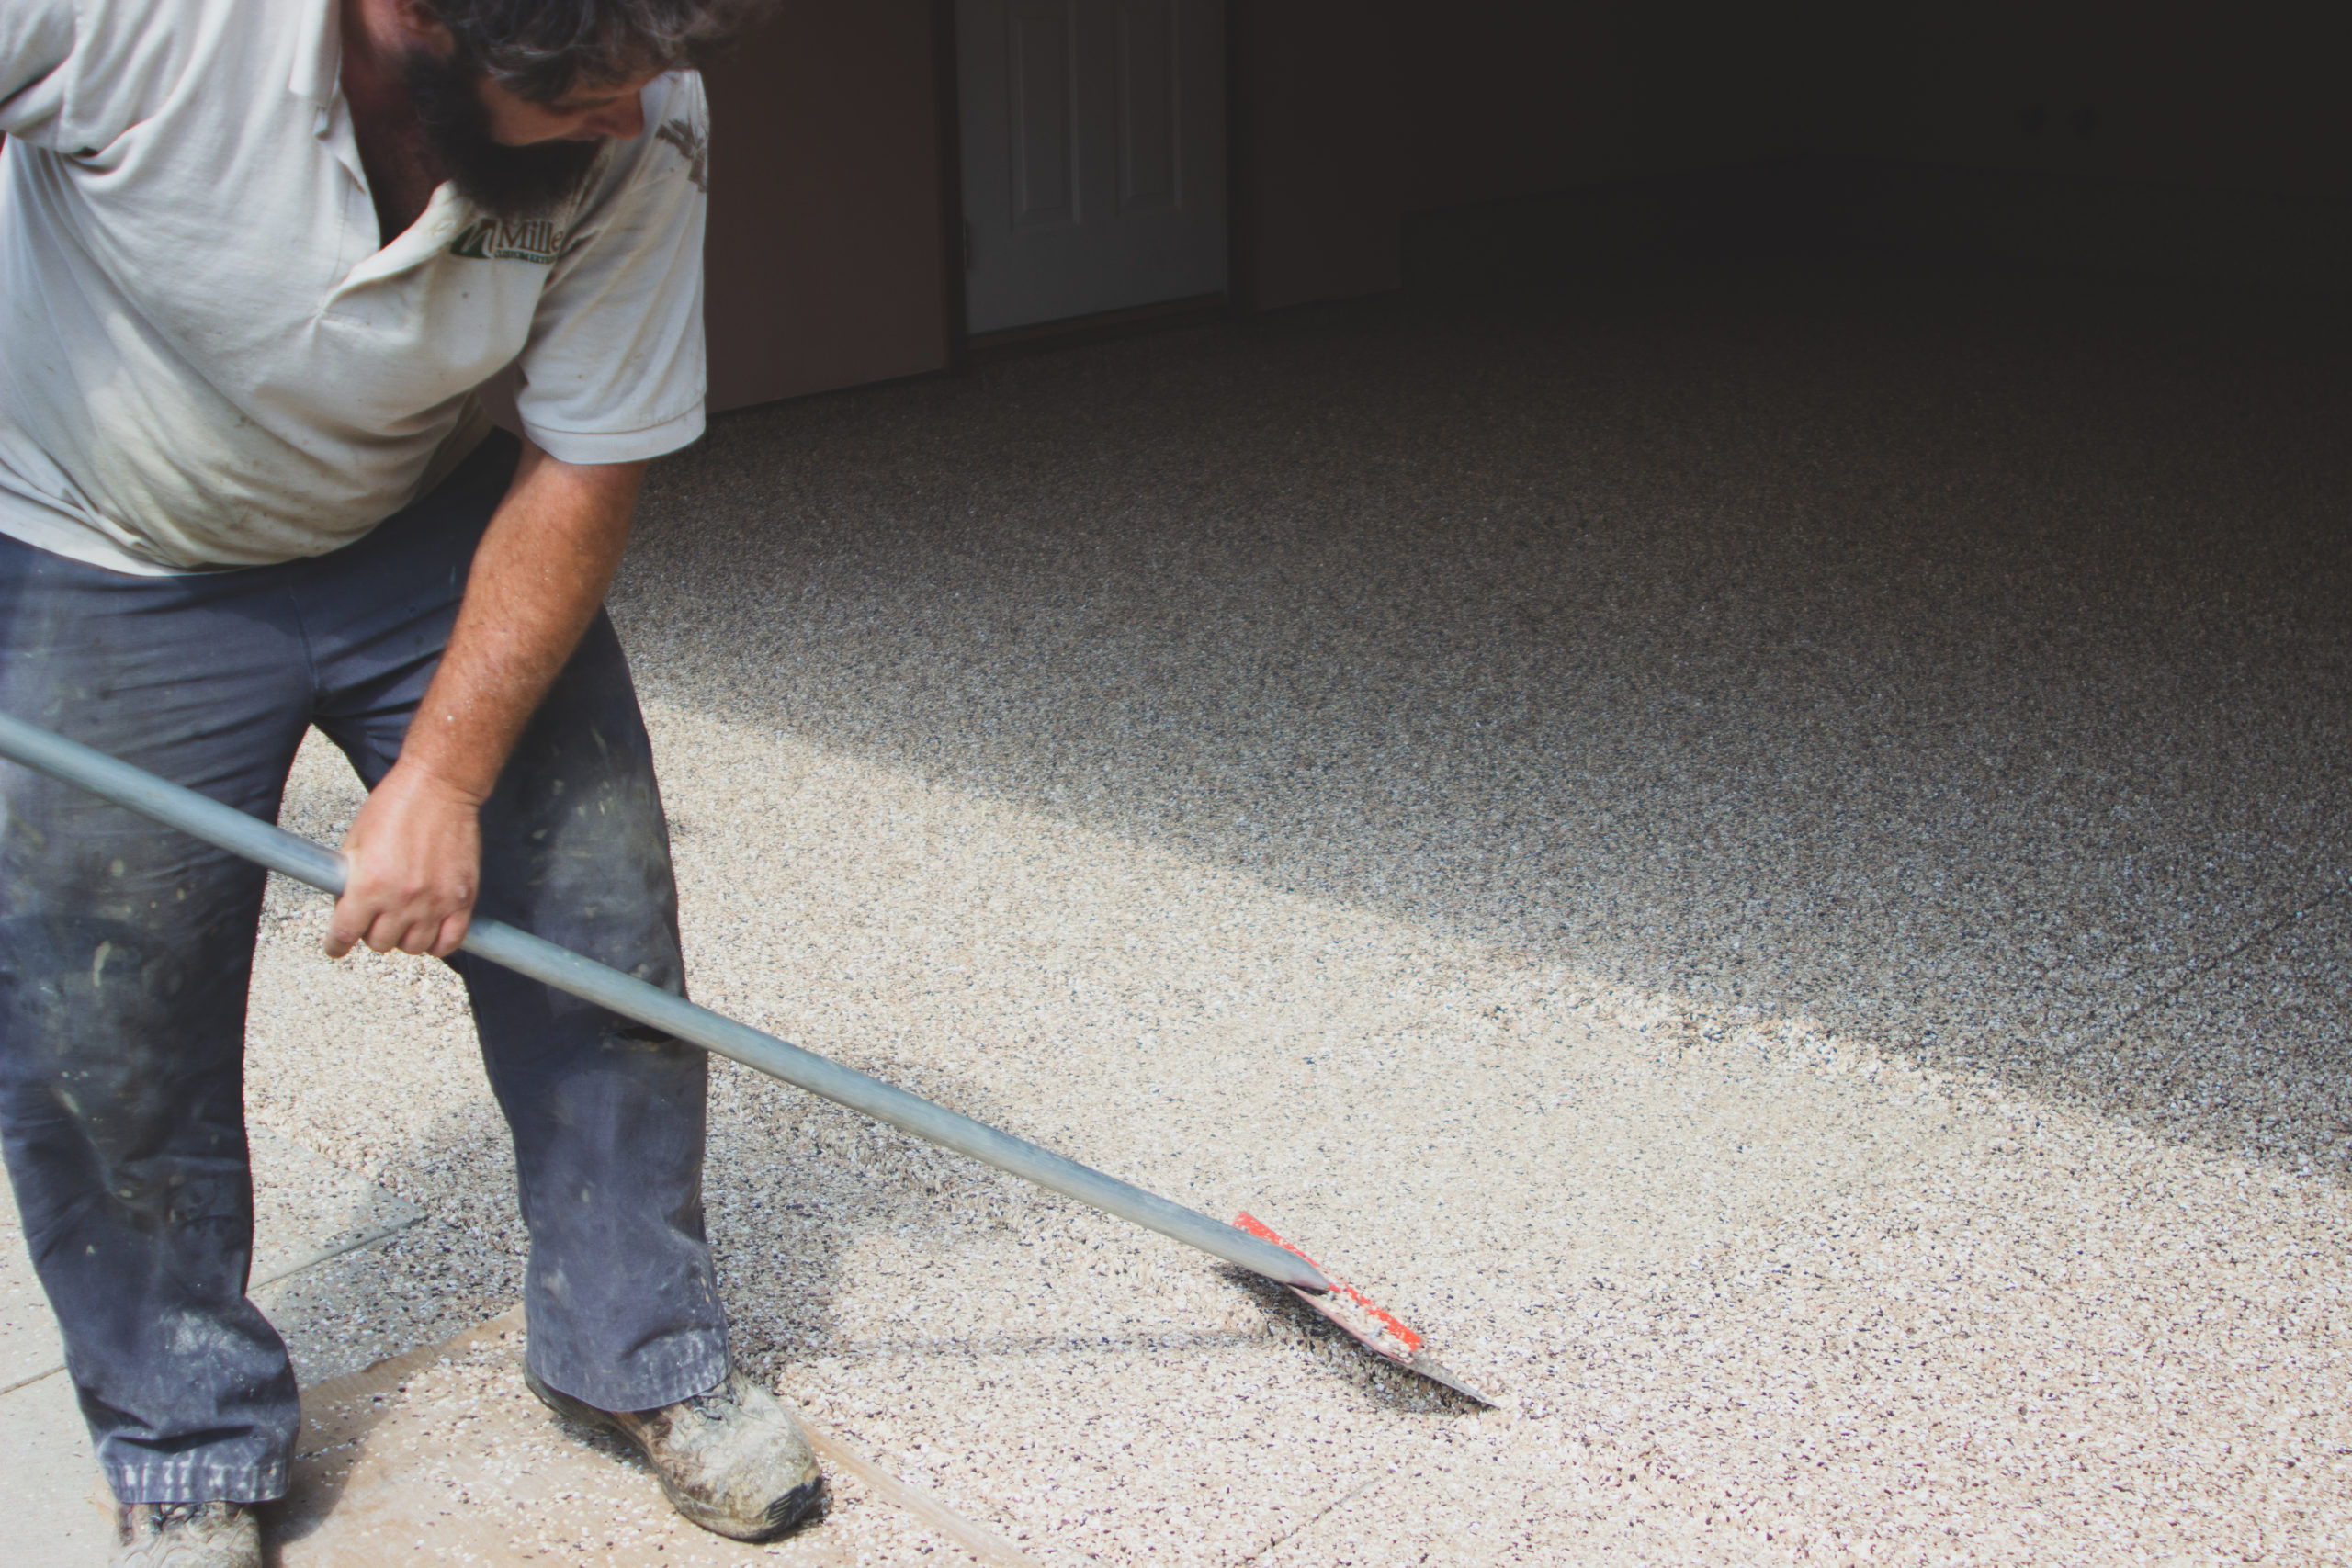
Once the basecoat is fully cured, the floor is scraped and vacuumed to remove any loose or vertical standing flakes.
Step 6
CLEAR COAT
CLEAR COAT
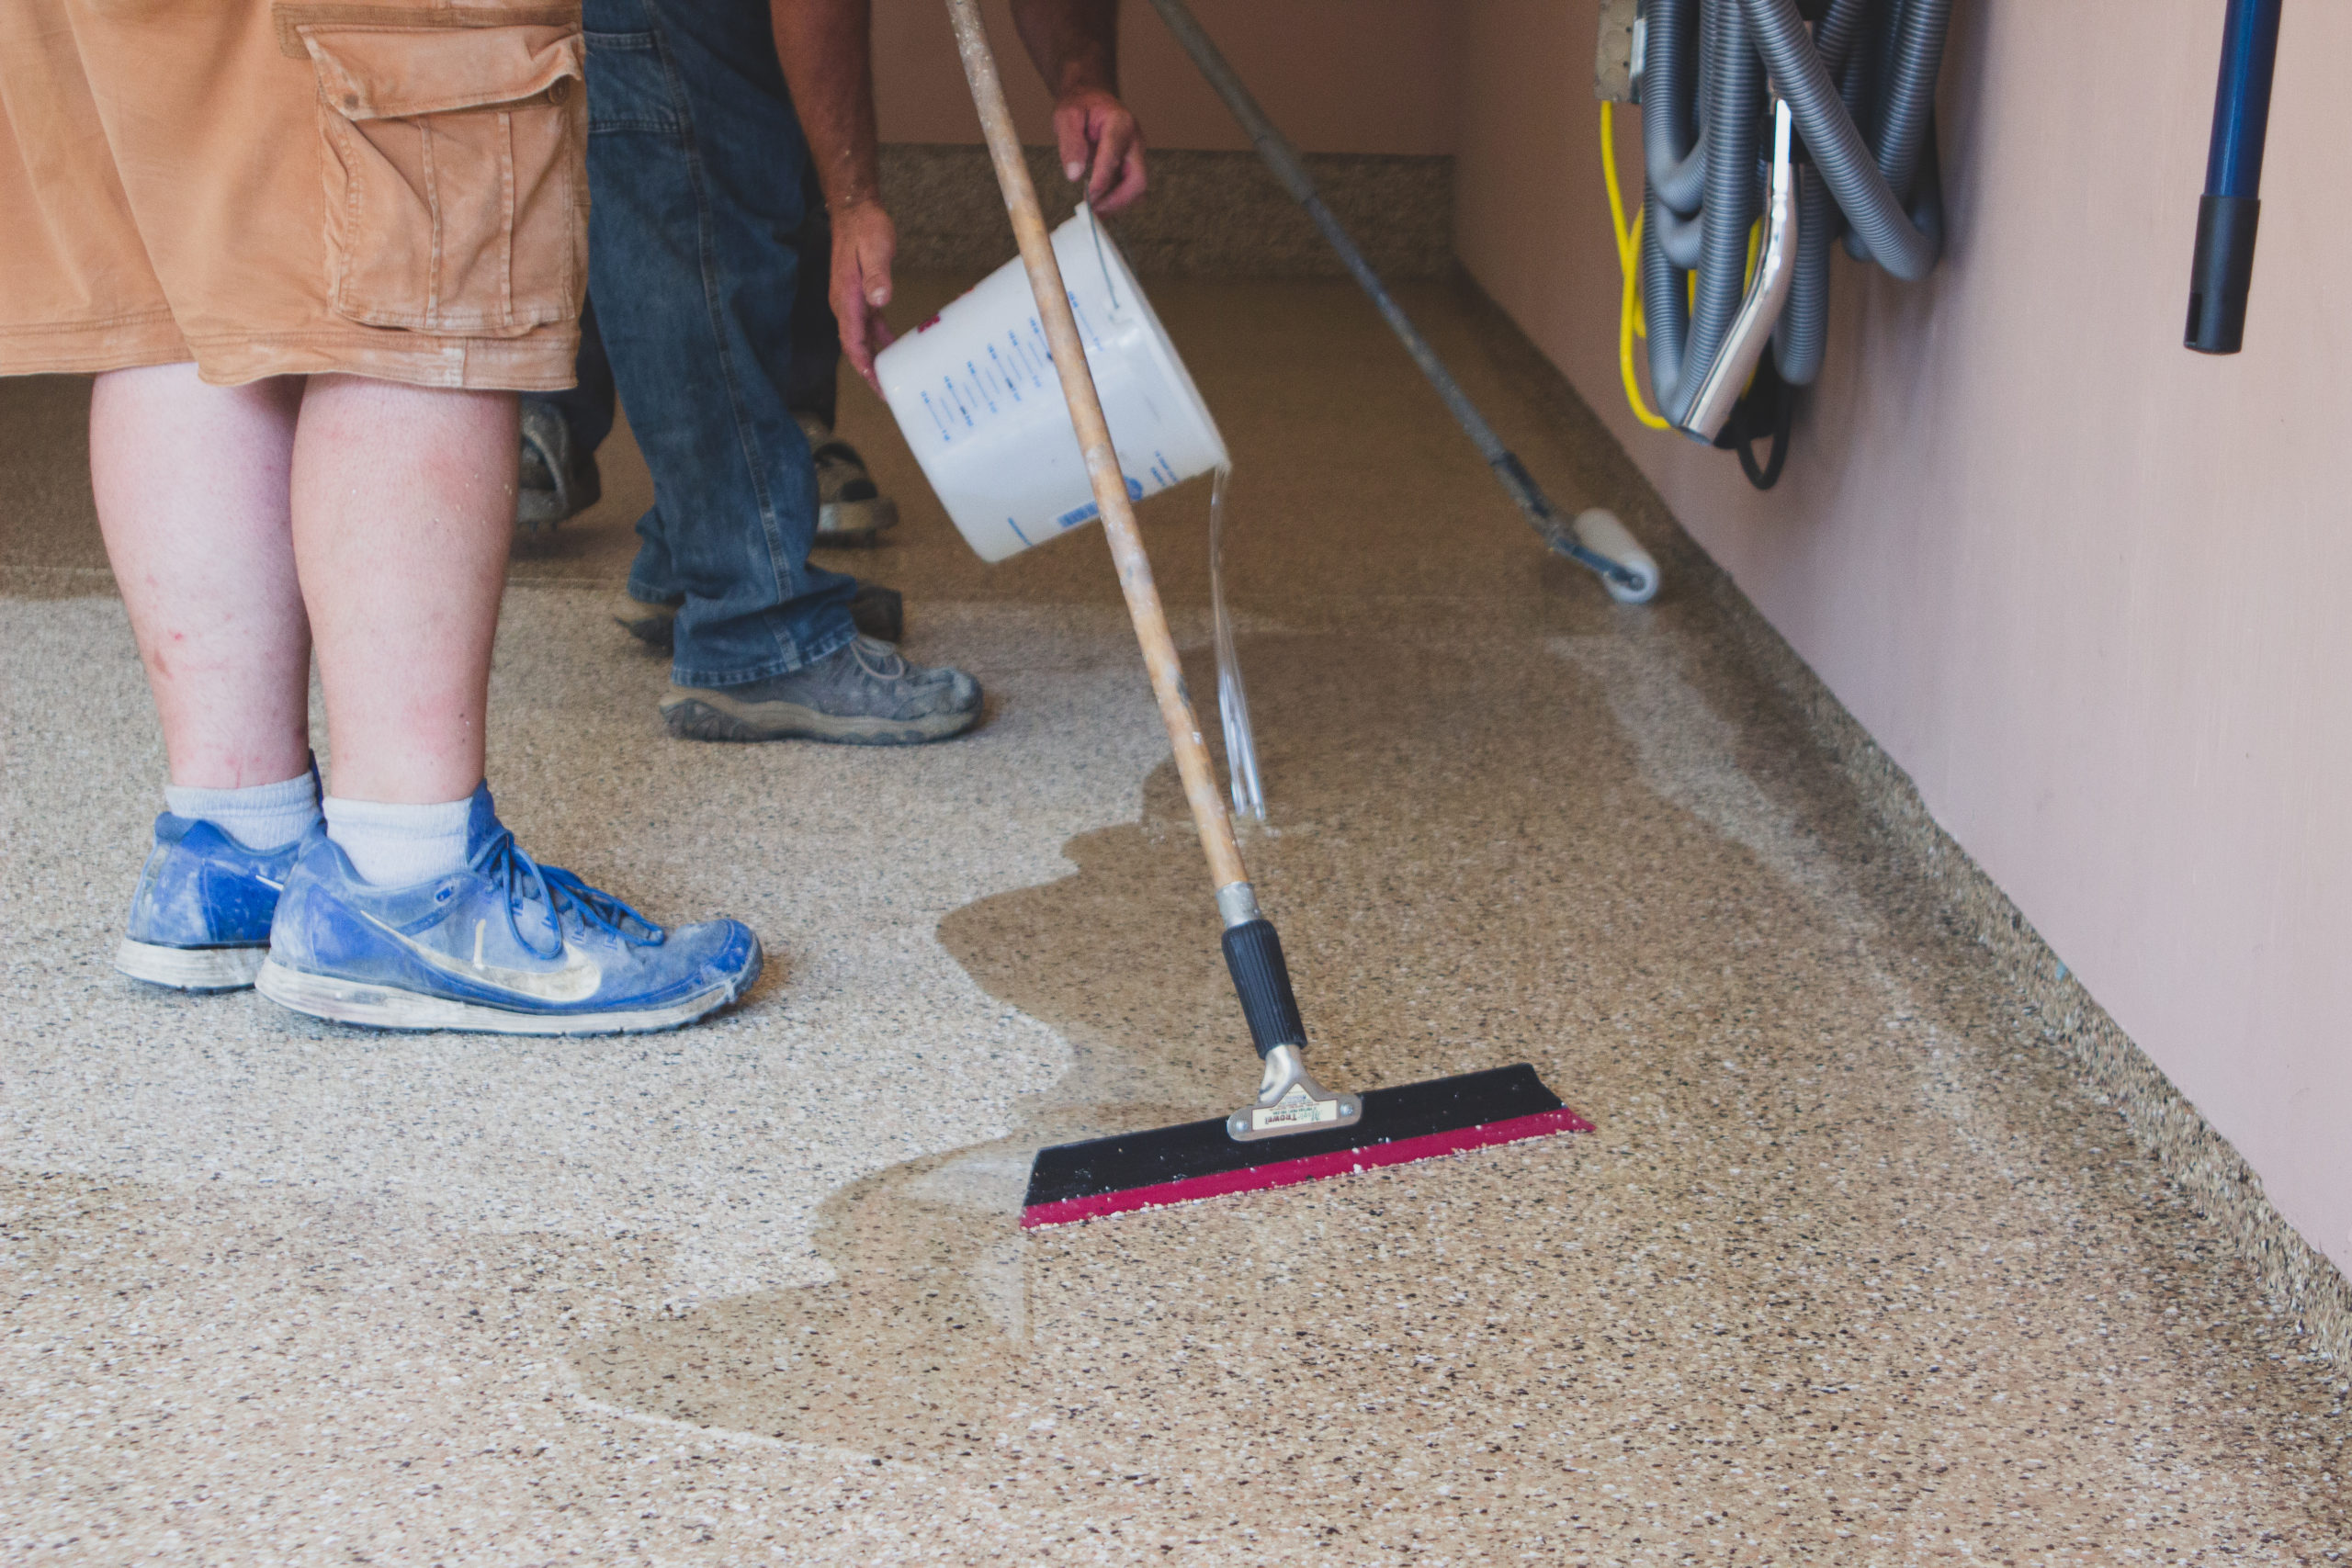
The final step is to roll out the UV stable polyaspartic clear coat.
Frequently Asked Questions
What are the benefits of coating your concrete floor?
Cures in 24 Hours!
Durability– stands up to impact, chemicals and scrapes
Color Stability– Will not fade or yellow over time
Flexibility– withstands extreme temperature fluctuations
Color Variety– solids, chips and many colors
Low Maintenance-easily clean grease, oil, and chemicals off of your floor
Safety– enhancing textures that can prevent slips and falls on the concrete
What are the customization options?
With industry-leading formulations available in customizable color and finish options, there’s no better choice than Penntek for a concrete floor coating that adds outstanding appeal and functionality to your home.
